I had received these lovely gifts from Mallugirl from Malabar Spices a few weeks back as part of the Arusuvai Friendship Chain..
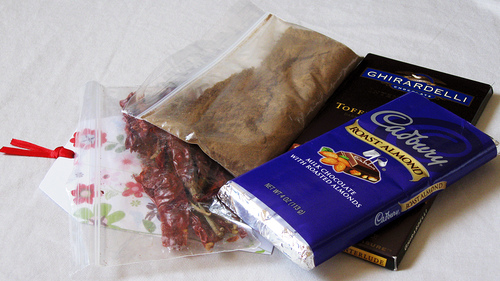
The day she informed me that she was going to send me a surprise ingredient, I was thrilled. From that day till I received the package, I wondered every moment what the surprise ingredient might be. When I received it I tasted the surprise powder ingredient and guessed it might be something with ground Cinnamon as it had a pleasantly sweetish aroma. Mallugirl then told me that it was the Biryani Garam Masala. I also loved the fiery red hot dried chillies she sent me along. I used them in my cooking for the Baghaar (tempering), even planted the seeds from a dried chilli and the plants are doing very good. Mallu girl, I really enjoyed the yuummy chocolates and delicious other ingredients.
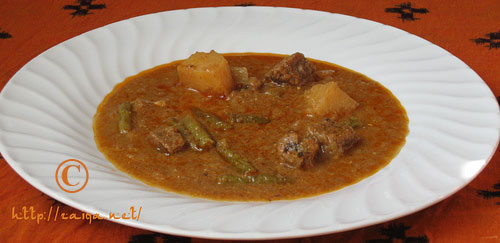
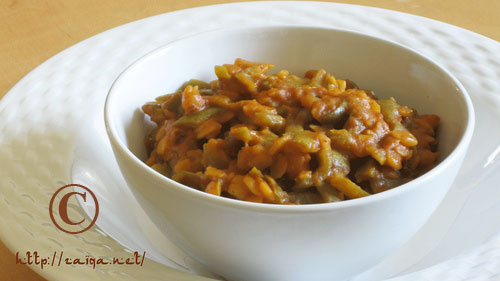
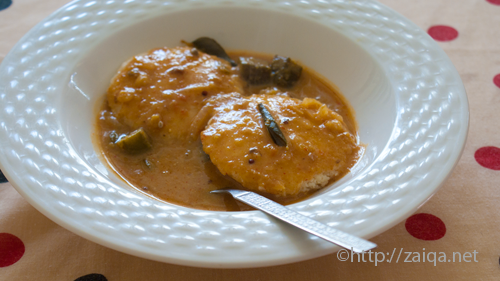
Aloo Gosht – Lamb meat and Potato Curry
I used the Biryani Garam masala to prepare Gosht Ki Biryani and also prepared Aloo Gosht a few days ago using the Biryani Masala and it turned out quite delicious.
Aloo Gosht – Lamb meat and Potato Curry
Ingredients:
- Canola Oil – 1/2 cup
- Yellow Onions – 3, large, finely chopped
- Lamb/Veal Meat – 300 gms, washed, cubed and drained
- Yogurt/Dahi – 2 cups, lightly whisked
- Salt – as per taste
- Red Chilli powder – 3 tsp
- Lemon Juice – 2 tbsp
- Green Beans/Binees Ki Phalli – 20 to 30 ,fresh, each sliced at an angle into 3 pieces
- Potato/Aloo – 2, medium, peeled and quarted
- Dried Fenugreek leaves/Kasuri Methi – 1 tbsp
- Biryani Garam Masala – 2 tsp
Method:
- In a medium sized pressure-cooker at medium heat, pour oil and as soon as it gets warm add the finely chopped onions and let them fry till they are nicely browned. Keep stirring them frequently.
- Add the cubed meat and let it cook along the onions for 4-5 minutes. Pour in the whisked yogurt and salt and mix well. Let it cook for 5 minutes.
- Close the lid of the pressure cooker and let it cook till the meat is tender. Keep an eye on it.
- During this time, in a seperate frying pan, pour little oil and stir fry the french beans and the quartered potatoes seperately for 5-8 minutes each. Drain and keep aside.
- Add red chilli powder, lemon juice, Kasuri methi, Biryani Garam Masala, quartered potatoes and water (around 5 cups or according to your wish as per the consistency of the gravy you desire) and let it cook till the oil has seperated and the potatoes are soft and nicely done. Serve hot.
Suggested Accompaniments: Serve hot with warm Naan, Afghani Roti or Parathas..
I will be sending my surprise ingredient to Trupti of The Spice Who Loved Me very soon.
Luv,
Mona