I will never forget what I went through on April 30, 2008, those moments of acute angst!
It was one of the most dreadful days I had ever faced. Like everyday when I had logged into my wordpress account (I was posting an entry to Click-Au Naturel!) I noticed there were so many error messages saying that my ‘wp-posts’ and ‘wp-categories’ table has somehow suddenly crashed and they were all nothing but Greek and Latin to me. That gave me moments of panic and fearfulness, I was not able to post anything, my ‘entire blog’ had crashed and I had no idea how I would rectify the mess. It was all horrible. I quickly mailed some of my contacts including couple of bloggers and the company which hosts my blog and WordPress for help. Everyone was with me supporting me and asked me to have faith. I had given up my hopes and thought I had lost it all, my blog, which I had built with deep and ardent affection.. all my love..
My hubby too was upset for me and he tried to help me by every possible way. At around evening, he opened my blog on a browser window and voila! my blog was all alive, and everything was working. When I saw that, my happiness knew no bounds and I was so happy, thrilled and relieved. I was all in tears and very gratuful to those who quickly worked on my blog. I pray and hope that no blogger has to face this ever in their life!
Right now I am so much more in love with my blog. I have put in so much effort to build up this website, which sort of defines me and is a medium to express my love for cooking with the world I live in. This is when I was thinking of the precautionary methods we all bloggers should be ready with every moment for situations like these and I found some very informative posts here, here and here. I request all the bloggers to always maintain a backup of their entire blog, a database backup and a backup of their actual blog on a very rugular basis, may that be daily, weekly, or monthly or after every new post they publish.
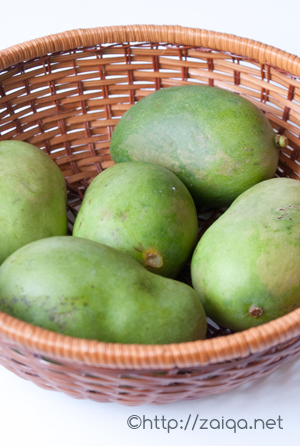
Anyways, Life is back to normal again, and I thank my God immensely. I had been to the grocery mart a few days back and saw these very beautiful looking Bottle Gourds and I quickly bought them home. I had not ever before seen such cute little brightly colored bottle gourds in my life. I was sending these to the Click – Au Natural Event yesterday when it all happened!
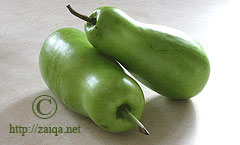
Two Kaddu or Bottle Gourds
I was in the mood of experimenting in my kitchen and I searched my refrigerator for ingredients. I found some Halal Chicken Sausages, Frozen peas .. and I quicky came up with this idea and it was one brightly colored and appealingly delicious curry. We had it along with Roti.
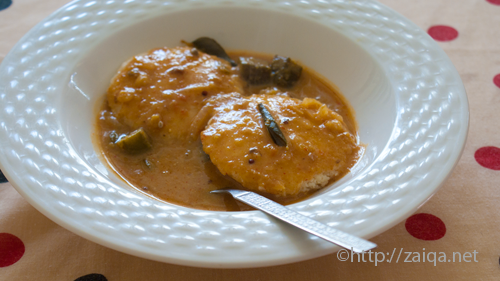
Khush-Rang Kaddu Ka Saalan – Bright Colored Bottle Gourd Curry
Ingredients:
- Bottle Gourd – 1, approx 400 gms, peeled and cut into quarters
- Chicken Sausages – 4
- Frozen peas – 2 cups
- Canola Oil – 2 tbsp
- Dried or Fresh Curry leaves – 4-5
- Ginger – 1 inch, finely chopped
- Yellow Onion – 1, large, sliced thin
- Salt – 1 1/2 tsp
- Red Chilli Powder – 2 tsp
- Turmeric – 1/3 tsp

Khush-Rang Kaddu Ka Saalan – Bright Colored Bottle Gourd Curry
Method:
- Pour oil into a saucepan at medium high heat and as soon as it warms up, throw in the sliced onion, as they begin to brown up, add the chopped garlic and chopped chicken sausage and curry leaves and stir fry it for a minute more.
- Add the quartered bottle gourd, salt, red chilli powder, turmeric and pour in some water and cover the lid. Let it cook until the bottle gourd is tender (You can add more water if needed, but do not add too much water, the curry should be pretty dry when done).
- Open the lid and add the frozen peas and let it cook for 5 minutes more. Taste and check it if the spices are adequate for your taste and add more if needed. Remove it from heat and Serve it warm.
Suggested Accompaniments: You can have these with any kind Rotis for a filling meal and a cup of flavored yoghurt.
I’m glad I got my entire blog back and am very very thankful to my hosting company who worked on retrieving my blog and bringing it back to life and in action again! I’m thrilled!!
Luv,
Mona