Come winter, and my taste buds keep craving for a meetha/Indian dessert. Though not a big meetha loving person, I tend to enjoy subtly sweetened home made Indian desserts. The last fall, I had tried my hands on pumpkin meetha which had turned out fabulous, this year the classic gajar ka meetha was foreordained. I happened to spot some beautiful carrots at the regular food mart at a very reasobale rate, and who could resist this nutrient laden root vegetable.
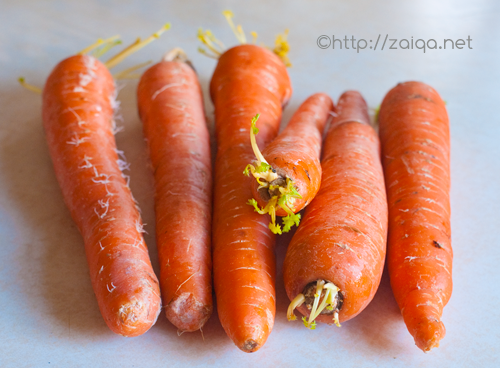
Farm Fresh Carrots
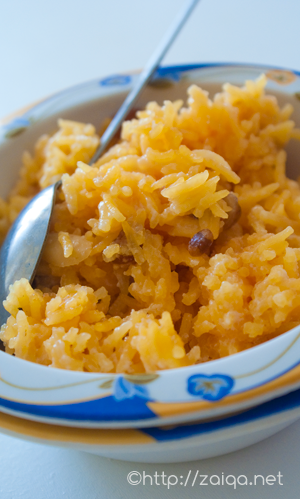
This winter dessert of reduced carrots and milk never ceases to appeal both me and my hubby. He even enjoys this meetha warmed along with hot parathas in the breakfasts. I restrict to eating it a little only after dinner.
Gajar ka Meetha can be enjoyed hot or cold, and can even be reheated. This meetha is generally prepared from the red carrots that are available in India throughout winters. For this preparation, use a food processor thats effortlessly grates the carrots in a jiffy.
I do not like my meetha saturated with either sugar or ghee, and I also hate a mushy disintegrated gajar ka halwa. So feel free to alter the amounts of sugar and cook the meetha mushy if you desire.
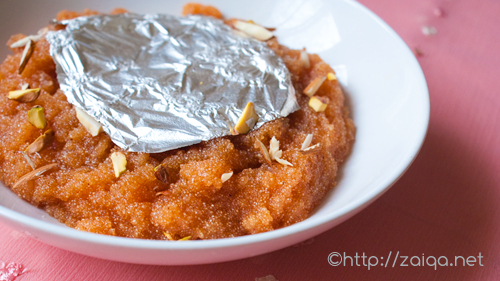
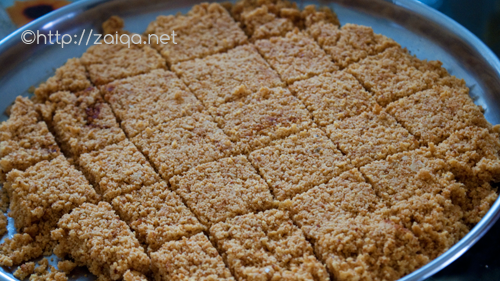
Gajar Ka Meetha – Carrot Sweetmeat
Ingredients:
Red Carrots (preferably) or any Sweet Carrots/Gajar – 1 kg, washed, scraped and finely grated (grate them as fine as possible, as long), cores discarded (I often use baby carrots which are quite sweet)
Ghee – 2 or 3 tbsp
Khoa – 1/2 cup, finely grated (or) Milk powder – 1/2 cup
Milk – 1/2 cup
Sugar – around 1 cup or less (according to taste)
Mixed Dry Fruits and Nuts – chopped walnuts, chironji, pinenuts, cashewnuts, raisins, slivered almonds and pistachios, etc – 1/4 cup, lightly toasted or shallow fried in oil or ghee
Cardamom powder – 1/4 tsp (optional)
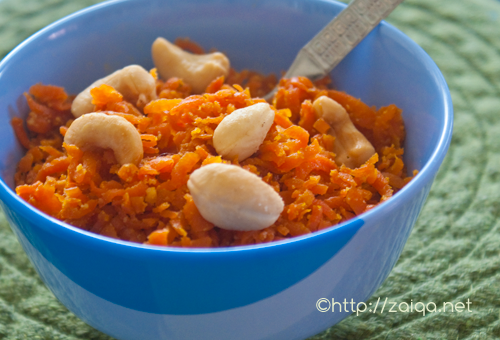
Gajar Ka Meetha – Carrot Sweetmeat
Method:
1. In a large non-stick heavy bottomed saucepan (or a large iron kadai is best) at medium high heat add the grated carrots and dry roast them while stirring every 2-3 minutes for the first 8-10 minutes, then every minute for the next 15-20 minutes. Add ghee and continue roasting it for a few more minutes. This is the most important step to develop a deep roasted flavor in the carrots. Do not burn them and stir very gently, do not mash up the carrots while stirring. During this time a wonderful fragrance of roasting carrots will fill your kitchen.
2. Once the carrots are nicely roasted, lower the heat to medium and pour in the milk and khoa and let cook until the milk is absorbed by the carrots. Add the dry fruits and nuts and cardamom powder. Add the sugar little by little and keep tasting until you get the desired sweetness and the meetha thickens a bit. Mix well. And cook for a little longer while stirring very gently every once in a while until the meetha is almost dry. Remove from heat. Serve it warm or chilled or along with vanilla ice cream. Store the meetha once completely cooled in an air tight container in the refrigerator.
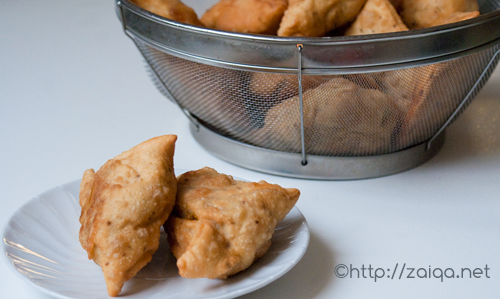
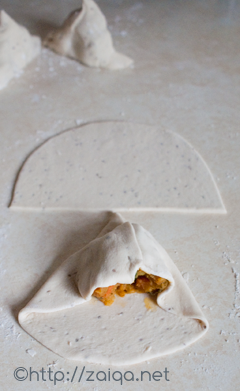
Suggested Serving: To impress your guests, serve the chilled meetha in mini pastry cases that are easily available in stores. You can name it as ‘Gajar Ka Meetha Tarts’.
Luv,
Mona