Home-Made Mango Pickles are my favorite. And among all the kinds, I realy love this pickle a lot. It is so simple to prepare, hot as a pickle should be and absolutely delicious.
The first time I had this pickle was at my Aunt’s-Khala’s house I fell in love with it the moment I had tasted it at her place. And used to have it like a curry along with Chawal or Parathas.
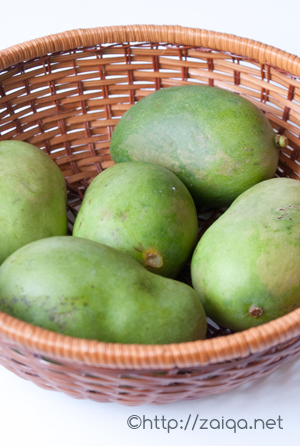
Unripe green mangoes ~ Kairi
I love blog hopping, and a few days back, on Priya’s blog, I had seen this pickle, which reminded me so much of Rishte Ka Achaar that my mouth was watering, and I was so much craving for it, just like a pregnant lady would! Somedays ago, I had been to an Indian store where I saw some very young and large sized Raw Sour and Green Pickle Mangoes, and I quickly bought three of them, came home and prepared this pickle. I was so happy.
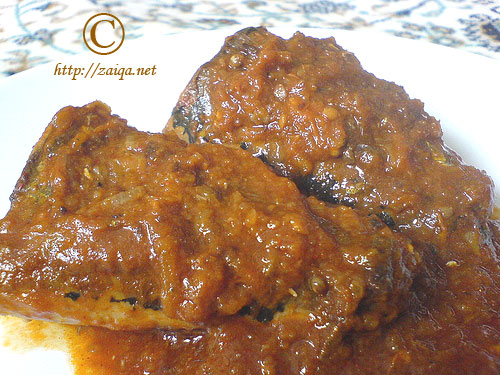
Rishte Ka Achaar – Mango Pickle
I do not have any idea why this pickle is named as ‘Rishte Ka Achaar’. I have no clue. But it is called so by everyone in my contacts, and even they do not have any idea about this. If anyone of you know why it is called so, please let me know. I will be very happy to come to know about it from my dearest Readers.
Try and get some very sour raw green mangoes for this pickle. And do not use the green mangoes for this pickle if they are not very sour.
Rishte Ka Achaar – Mango Pickle
Ingredients:
Unripe and Sour Green Pickle Mangoes – 3, large
Dry Roasted Black Cumin Seed Powder – 1 1/2 tbsp
Red Chilli Powder – 1 tbsp
Salt – 1 1/2 tbsp
Mustard Seeds – 2 tsp
Dry Red Chillies – 4
Turmeric – 1/3 tsp
Curry leaves (fresh) – 6
Green Chillies – as per your taste, chopped or slit (optional)
Canola oil – 3 tbsp

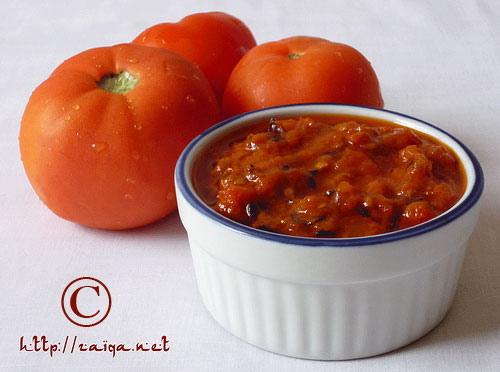
Rishte ka achar
Method:
1. With a damp towel, wipe the raw green mangoes clean and dry them with a paper towel throughly. Throughly dry your hands and knife. Carefully, peel the skin, deseed them and cut into very small pieces.
2. In a flat glass container with a tight lid, put the cut raw mango pieces and add salt and turmeric and mix well. Cover the lid tightly and put the container aside for 24 hours in a cool dark place.
3. The next day, you will see that the mango pieces have released a lot of juice. In a pan on medium high heat, pour oil and add the mustard seeds, curry leaves and dry red chillies. As soon as they begin to pop, remove from heat. Let it cool completely. This is the tempering/baghaar.
4. After the baghaar has cooled off completely, pour it into the container with mango pieces, and also add red chilli powder, black cumin seeds powder and green chillies, if using, and mix well. Adjust the salt and red chilli powder according to your tastes. The Achaar is ready. You can now relish upon it.
Store it in a glass jar with an air tight lid. It keeps very weel if kept away from water. Always use a dry spoon when you have it and keep it covered and refrigerated.
Tip: After you have cut the mango into small pieces and deseeded it, do not throw away the seed, use it in Khatti Dal instead of using the tamaring or lemon as the souring agent. It makes your Dal khatti/sour and gives a very good flavor to it.
Luv,
Mona