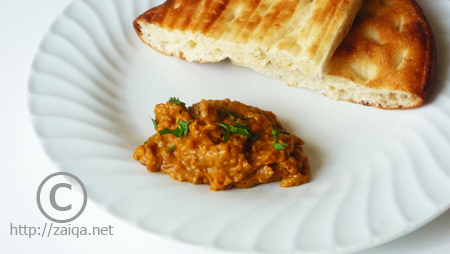
Kofta are meatballs. Today I prepared this Chicken Kofta side dish along with Kaddu ka Dalcha and Baghara Chawal for lunch.
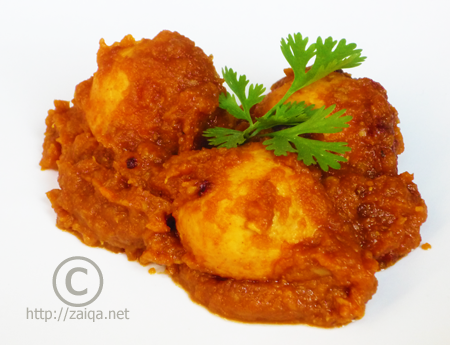
Murgh Kofta Masala – Chicken Meatballs in Sweet and Sour Sauce
Meatballs cook quite quickly when simmered in sauce and I like to play with the ingredients I use to flavor up the meatballs. Amchur powder, which is the powdered dried mango, is one of my favorite ingredients in Kofta preperations. I like the slightly tangy taste it adds to the food. It is available easily in most Indian stores.
This preperation is a Sukha Salan, meaning, the sauce in it is fairly dry and clings to the meatballs. If you would like to prepare a Patla Salan using meatballs, you can go through them here.
Murgh Kofta Masala – Chicken Meatballs in Sweet and Sour Sauce
Ingredients:
For Sauce-
Canola oil – 2 tsp
Mustard seeds – 1 tsp
Yellow Onions – 2, finely sliced
Ginger garlic paste – 1 tsp
Tomato – 1, large, roughly chopped
Red Chilli powder – 2 tsp
Salt – to taste
Turmeric/Haldi – 1 tsp
For Meatballs/Kofte-
Boneless Chicken breast – 250 gms, cubed into pieces
Turmeric – 1/4 tsp
Red Chilli powder – 3/4 tsp
Salt – 1/2 tsp
Dried Raw Mango powder/Amchur – 3/4 tsp
Method:
1. In a pan, pour oil, and as soon as it warms up, add the mustard seeds. When they begin to pop, add the sliced onions and stir fry them till until lightly golden brown in color. Add the ginger garlic paste and fry it for a minute. Add chopped tomato, red chilli powder, salt and turmeric. Let cook for 3 minutes. Remove from heat and keep aside to cool. Once cool, puree it into a fine paste. Add a little water if needed. Keep aside.
2. In a food processor, add the chicken pieces, turmeric, salt, red chilli powder, salt and raw mango powder. Pulse until the chicken is roughly minced and well mixed with the ingredients. Remove it into a bowl and mix with a spoon. Wet your hands with water, and take a little bit of the mixture in your hands and shape into little balls, about 2 cm in diameter, until the whole mixture is completed.
3. Heat a saucepan and add the pureed onion+tomato mixture. Add 1 1/2 cup water and mix well. Let it come to a boil once. Later, simmer and gently drop the chicken meatballs one by one into the sauce and cover the lid. Let cook for 5 minutes. Open the lid and carefully mix with a spoon. The color of the meatballs should have changed from pink to opaque white in color. Let it cook for a furthur 5 minutes until the sauce is fairly thick. Serve warm.
TIP: To freeze meatballs ahead of time: You can prepare the meatballs and freeze them for future use.
Form meatballs, and place them on a parchment paper lined baking sheet in the freezer. Once the meatballs are hard and well frozen, transfer them to a resealable plastic bag and store in the freezer for up to 3 months. To serve, thaw and cook them in the curry.
Suggested Accompaniments: Enjoy this side-dish along with Warm Roti/Paratha/Chapati or any Pulao or rice preparations and a vegetable curry on the side.
Luv,
Mona


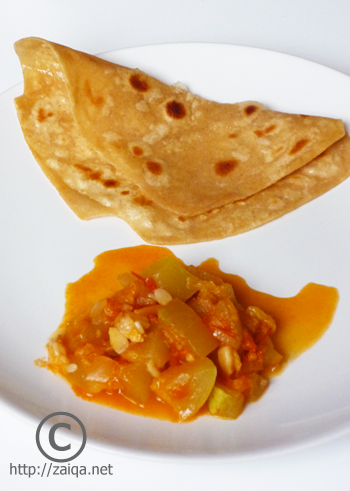
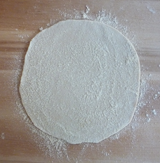
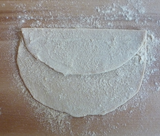
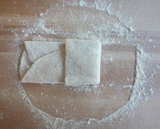
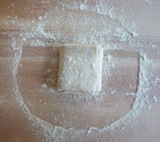
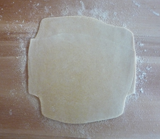
 The materials used to prepare any flat bread/roti are a Girda and a Belan. Girda is a flat wooden board on which the flat bread/roti are rolled using the belan, which is the rolling pin. If you did not happen to buy a girda from your trip to India, use any flat wooden board available or a any clean flat surface like your kitchen countertop or a wooden cutting board. Keep a kitchen towel below the board to keep it steady while rolling the roti with the rolling pin.